Contents:
- Introduction
- How to prepare henna
- Picking the right product
- Previously dyed hair
- Key considerations
- How to mix henna
- Final tips and tricks
If you’ve always wanted to know how to mix henna for hair, try our step-by-step guide.

What to know before you prepare your henna mix for hair
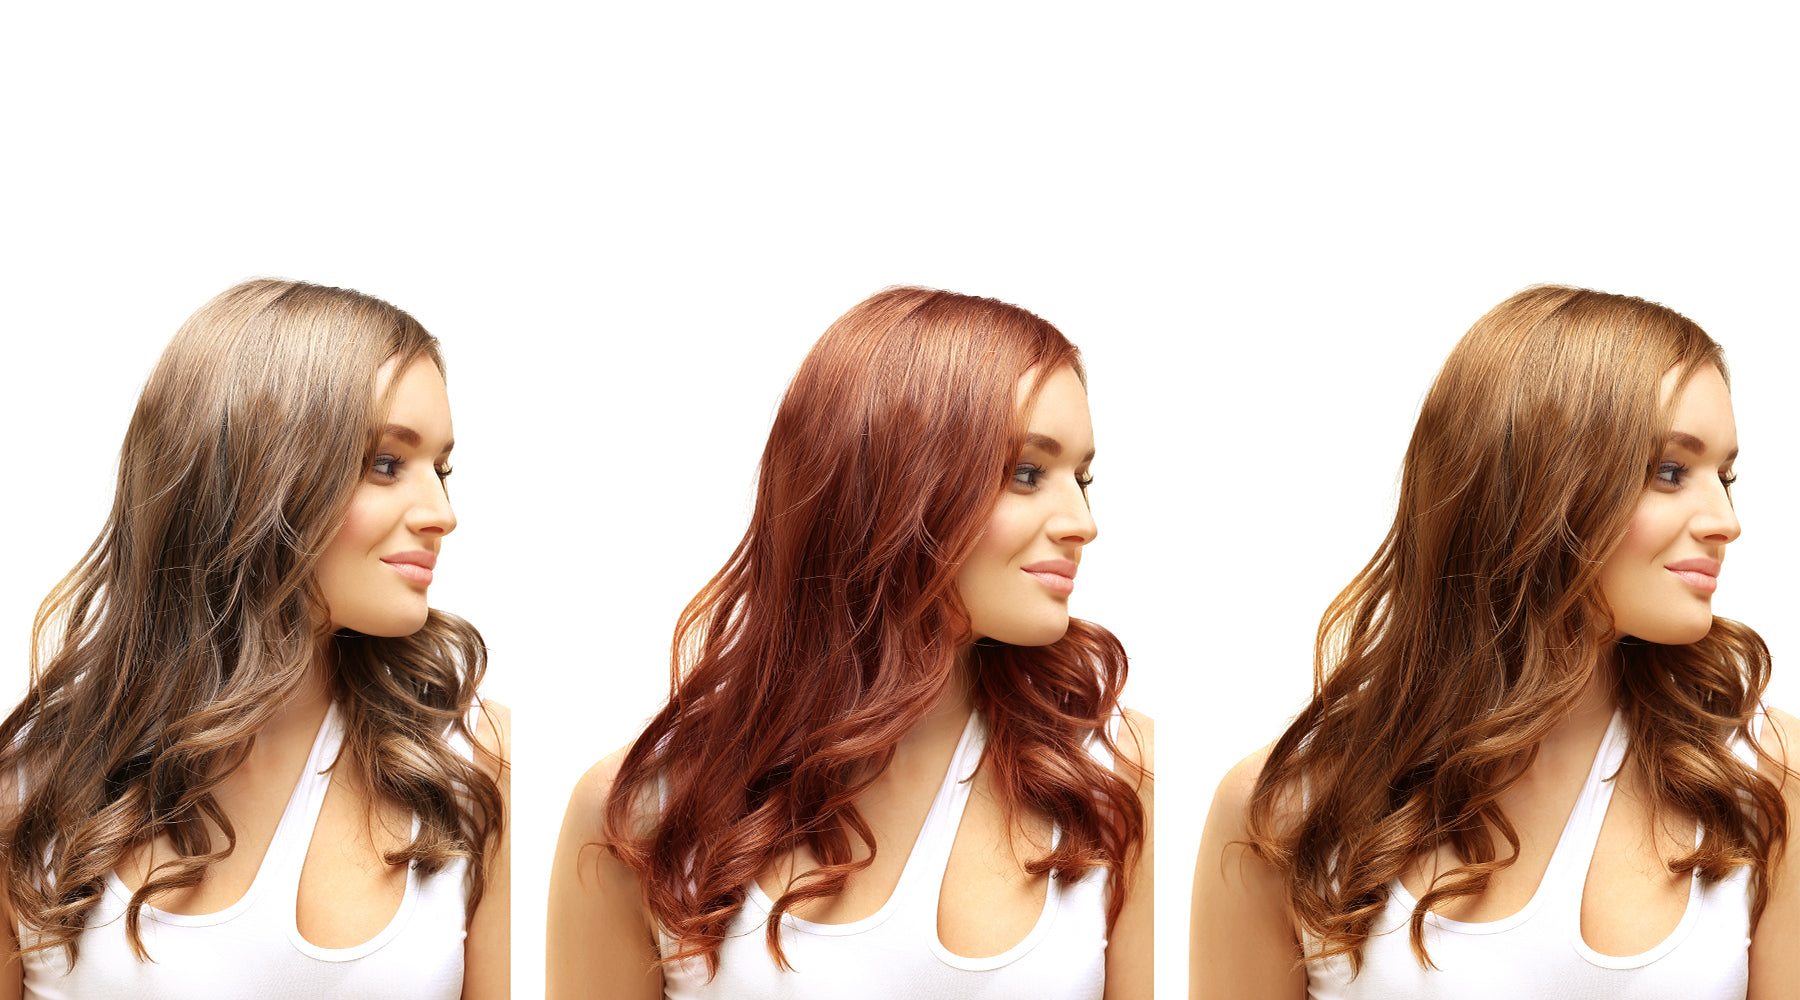
Let’s start from the top. Henna is a completely natural ingredient that has been used since ancient times in place of modern medicine or chemical dyes, which means it will blend in with your natural or dyed tones no problem. However, achieving the perfect hue isn't an exact science – many factors will affect the final colour, including any pre-existing dye, the amounts you use when you mix, and your current shade.
For example, grey hair makes dyeing with henna easier. This is because grey hair is translucent, giving the henna an easier base to attach to. This means you can expect a result that’s more representative of the colour in the mixing bowl, achieving either a glossy ombre / highlights look if you have small sections of greys or a warm-toned colour all over if you’ve a full head of grey hair. Both are stunning, might we add!
How to prepare henna for hair
If you have sensitive skin or are susceptible to allergies, you may wish to proceed cautiously. You can try a patch test if you’re not sure. Generally, henna is hypoallergenic (which means it’s less likely to contain allergens) as it is completely plant-based, but everybody’s skin is different.
Picking the right product
Before you even open the box, look at the ingredients list. Some high street products may be mixed with chemicals, which could also present allergens. Keep away from products with PPD and paraben, and anything marked as “black henna”, avoid like the plague. This version of the dye technically isn’t henna at all, comprising of the indigo fera tinctoria leaf and PDD, and is known to cause reactions. In fact, in the EU, it has been banned from use as temporary tattoos.
If you’re not sure, take a look at the henna powder. Is it a green or brown shade, and does it smell like a natural dried plant or grass? If it’s purple, black or has a synthetic odour, the chances are it contains nasty chemicals. Avoid!
How much henna should I use for my hair?
The amount of henna powder you use depends on your hair length. If you have a shorter style, aim for between 50 and 100g. If your hair is medium length, go for 100g, or 200g for long hair.
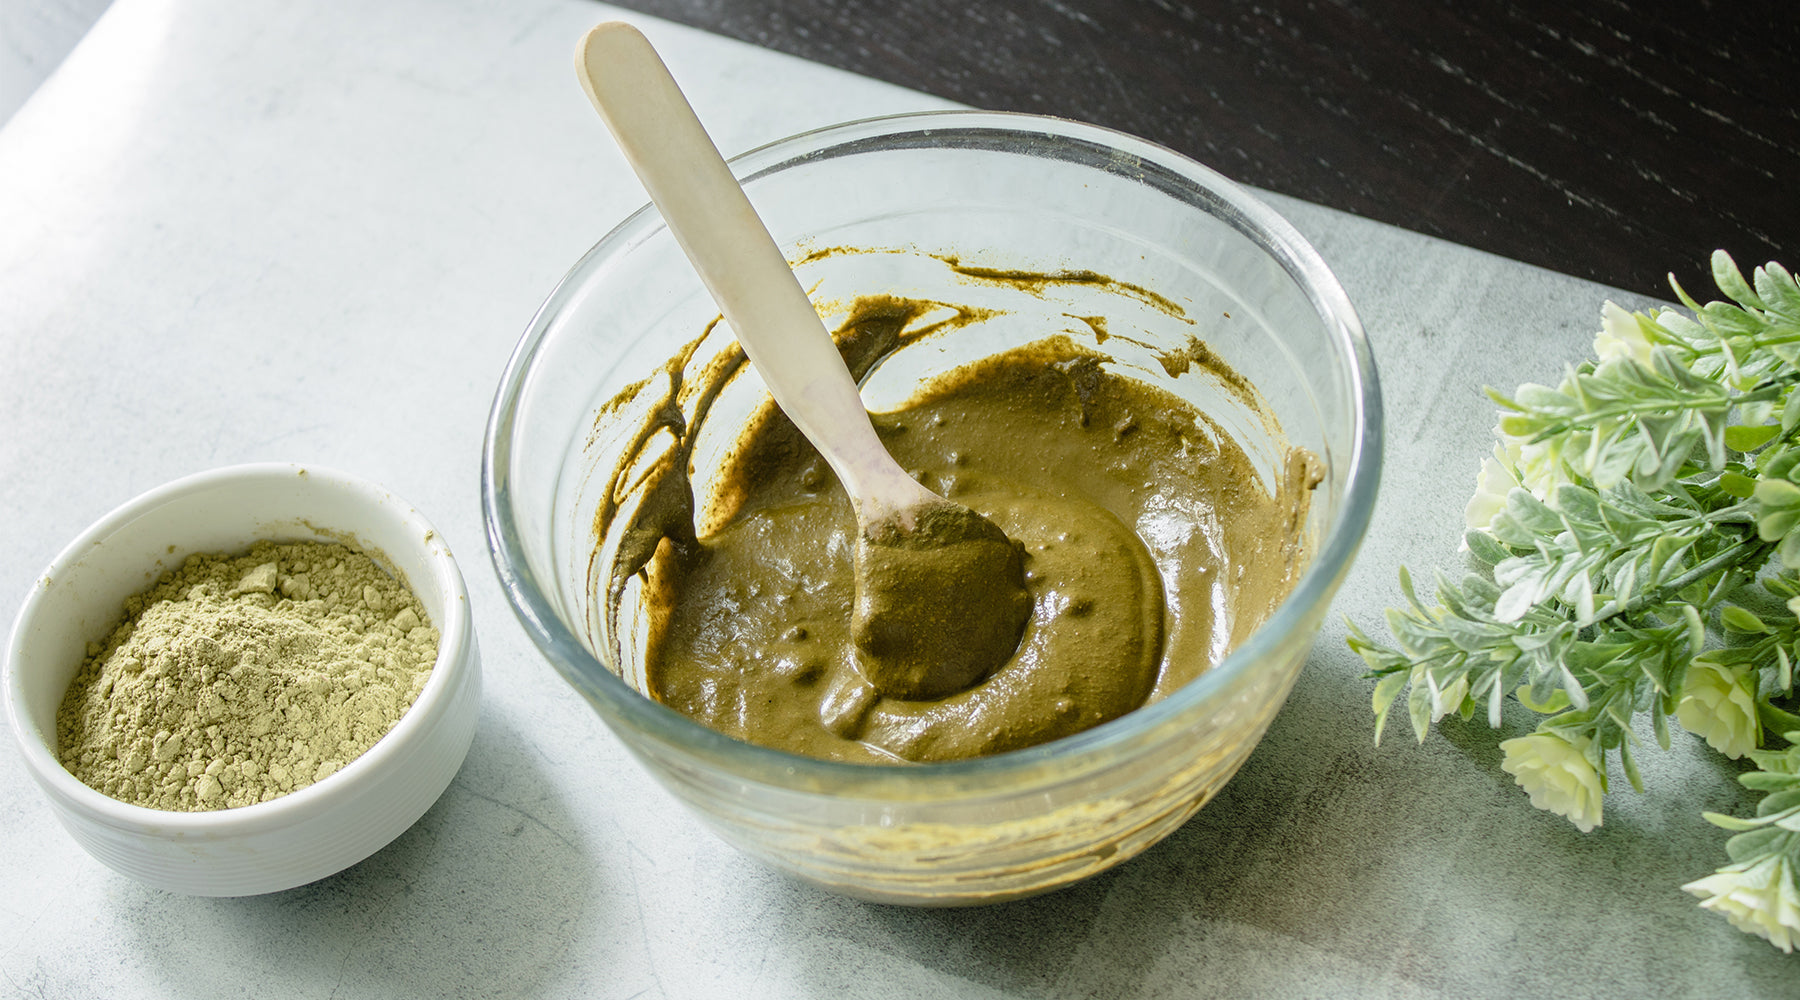
Remember to be patient. You can leave the mixture for two hours, but for best results and more intense shades, you should leave it in the mixing bowl for at least 12 hours.

Choosing the right henna hair colour for you
Pure henna is frequently blended with various other plant-based components to induce a range of captivating hair colours. These combinations are typically one of two: cassia or indigo.
Cassia plant powder imparts lighter shades like strawberry blonde and coppery red, making it especially effective on lighter starting hair shades. However, it's important to note that cassia won't lighten hair itself. Indigo plant powder, on the other hand, is employed to achieve darker hues such as chocolate brown, auburn, burgundy, and black.
As a general guideline, if you use pure henna on its own, it will result in a deep red henna tone. However, by introducing varying amounts of indigo into the mixture, the colour will gradually deepen and darken to create the desired effect. So, the key to your perfect hue lies in the artful combination of these natural ingredients.
To achieve that perfect colour, you’ll need to mix henna powder with a few natural ingredients as listed above. Generally speaking, you can expect to achieve one of the following shades:
- A variety of blondes
- Sandy blonde
- Golden blonde
- Strawberry blonde
- A number of reds
- Auburn
- Copper
- Burgandy
- Varying shades of brown
- Chestnut
- Red-brown
- Mahogany
- A voluptuous black
Dyeing your hair black
Here you need to choose a henna powder that specifically contains indigo powder too. Then, you can follow the same steps as for brown and red/burgundy shades, as outlined below.
Dyeing your hair red or brown
To achieve red tints, brown tints or something in between, you only need henna; however, there are plenty of additions you can put in the mixture to fine-tune the colouring process.
Remember – the longer you leave the colour in, the deeper and richer the result. Start by gathering the following ingredients. You’ll need to prepare a day in advance, as follows:
- Henna powder (with indigo for natural black hair)
- Coffee or tea (optional – for redder tones)
- Lemon juice (ideal for covering up greys)
- Yoghurt or one egg for optional extra conditioning.
What about blonde henna hair dye?
Because henna does not bleach the hair, it’s difficult to find lighter henna hair dye colours. However, you can emphasise natural or dyed blonde tones with highlights of browns and reds – every result is different.
The good news is, whether you’re angling for a sun kissed, beach-ready look or using henna hair dye for grey hair, you’ll also benefit from organic nourishment. So, your blonde hennaed hair will not only look gorgeous, but feel gorgeous too.
Matching your skin tone
Ready to get experimental with henna? Generally, you should choose colours based on ‘warm’ and ‘cool’ skin tones. Look at your wrist for an idea of where to start. If your veins are blue or purple, you’re ‘cool toned’ – which works well with dark browns and jet-black shades. If you have warmer tones, such as green-looking veins, you can go for more caramel, honey and auburn shades.
Keep in mind that cool skin tones often carry a hint of blue or pink, while warm tones lean toward yellow, orange, or even green hues. If your skin has a ruddy complexion, opting for an ash or cool-toned hair colour can effectively counteract any redness. When uncertain, a neutral hair colour is a happy and safe medium for everyone.
Now, if you’re stuck in decision paralysis, check out our colour chart for inspiration, it’s only one click away.
Can you use henna on dyed hair?
It’s your lucky day! Usually, you can apply the stuff right over the top of synthetic colour without too much hassle, although as always, we recommend completing a strand test beforehand.
In most cases, henna might not be your top choice if you frequently change your hair colour. This is because, unlike chemical dyes, it infiltrates right into the hair’s cuticle and bonds with the keratin – so expect it to permanently alter your shade even as it grows and fades out a little. Applying a box dye over your hennaed locks may run the risk of a patchy result, and no one wants that!
Nevertheless, there are scenarios where it can be effectively combined with synthetic dyes for particular results. We’re talking about subtly lightened hair. As you persist in using henna, the shade deepens, growing richer with each application and when the sun catches it, it will exhibit a lovely red glow with any highlights adding a beautiful dimension to the hair as they shine.
Even so, be warned: the results of henna on dyed hair are unpredictable and may vary. For the best outcome, we suggest waiting until the chemically dyed parts of your hair have grown out completely and pop your henna over your virgin tresses.
Key considerations when mixing henna for your hair
Remember – the shade you eventually achieve with henna hair dye comes down to five factors:
- Choosing natural henna or henna with indigo powder (henna for black hair)
- How long you leave the mixture to develop
- How long you leave it in your hair
- The use of any supplementary ingredients
- Your starting shade, including whether it has been coloured previously.
Always start with a skin test to check for allergies. 48 hours before you dye, add a little of the mixture onto your inner elbow or behind your ear. If there are no reactions within two days, you’re good to go. With careful consideration of what colour you want to impart with your hair, it’s time to start mixing!
Getting started with your henna mix for hair
To achieve the perfect colour, it all comes down to preparing the henna mix for your hair.
1. Create the henna mixture
Start by soaking the henna powder in a suitable and hygienic container with coffee or tea-stained water. You need to have a paste-like consistency, so don’t add too much.
2. Add the final ingredients and leave to develop
The next day, add a dash of lemon juice, and the yoghurt or egg for extra nourishment. Make sure your hair is dry and free from products. You may want to leave a day or two between washing your locks as the product takes better when there is a little grease.
3. Apply the henna concoction to the hair
As henna is notoriously messy, make sure to gather your towels and change into a top you don’t mind getting mucky. Gently apply the paste to individual sections of hair, using a pastry brush or similar to cover every strand. You can also use your hands, just remember to us gloves or they will stain! We suggest to begin at the roots where it is warmer and work your way down to the tips.
Once you’ve hit full and even coverage, wrap your hair in a plastic bag or a shower cap if you have one. Leave for a minimum of two hours – longer if you want a darker colour.
4. Rinsing and aftercare
Finally, rinse well with water, and do not wash your hair with a chemical shampoo. Instead, wait until the next day and wash your hair with an organic product. Try Eastern-inspired Ayurvedic shampoos, which do not cleanse the hair of its natural oils. After a few hours, you will start to see the colour results, sometimes the henna will take even longer to reveal the final developed look, so be patient.
If you want to treat your hair to extra health you can follow up the dying treatment with a hair mask later down the line or infuse your locks with essential oils a few days later.
Henna mix for hair – a few final tips from the experts
While the ingredients list below give you a range of choices for all shades, you can also add a few optional extras. For example:
- While henna cannot guarantee blonde, you can enhance ‘strawberry blonde’ with vinegar or a dash of red wine
- Give red shades a more vibrant look by adding a splash of brandy
- To avoid staining your skin apply a bit of lotion or Vaseline to your hairline, neck and the tops of your ears
- If you’re not a fan of unperfumed hair dyes, add some essential oils, rosewater or cloves
- To keep that radiance going, you can make henna last longer by avoiding heat-damaging tools and using a nourishing henna shampoo.
No time to do it yourself?
If you’re cautious about mixing colour, try our pre-made henna creams, available in browns, burgundy, strawberry blonde and more. Say hello to a beautiful and easy coverage and a beautiful you.

